INDEX
첫번째 단계 Make Project
Branch Name 예제 브랜치 이름은 다음과 같습니다.
1. IntelliJ로 Spring Boot 프로젝트 만들기
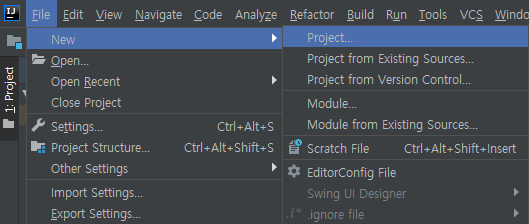
file → New → Project 를 클릭해서 새로운 프로젝트를 생성
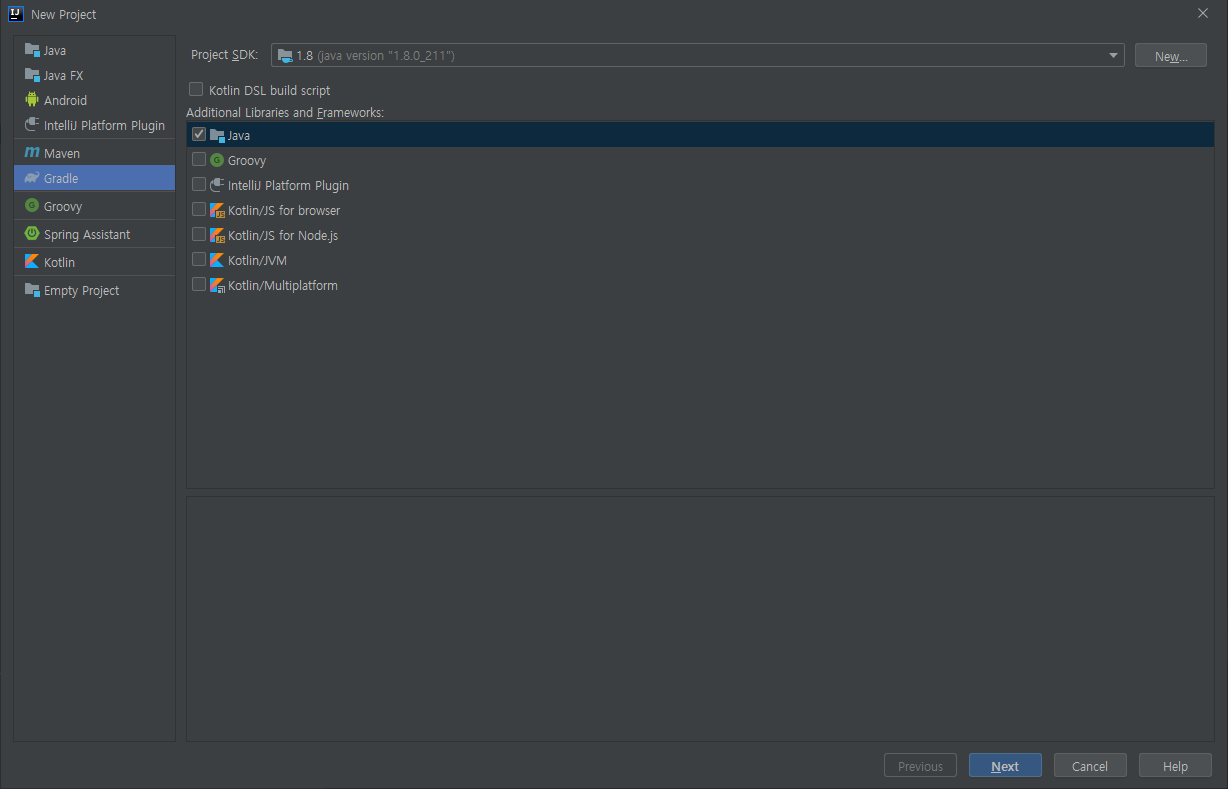
New Project의 유형 중에서 Gradle을 선택하고 Next 버튼을 클릭
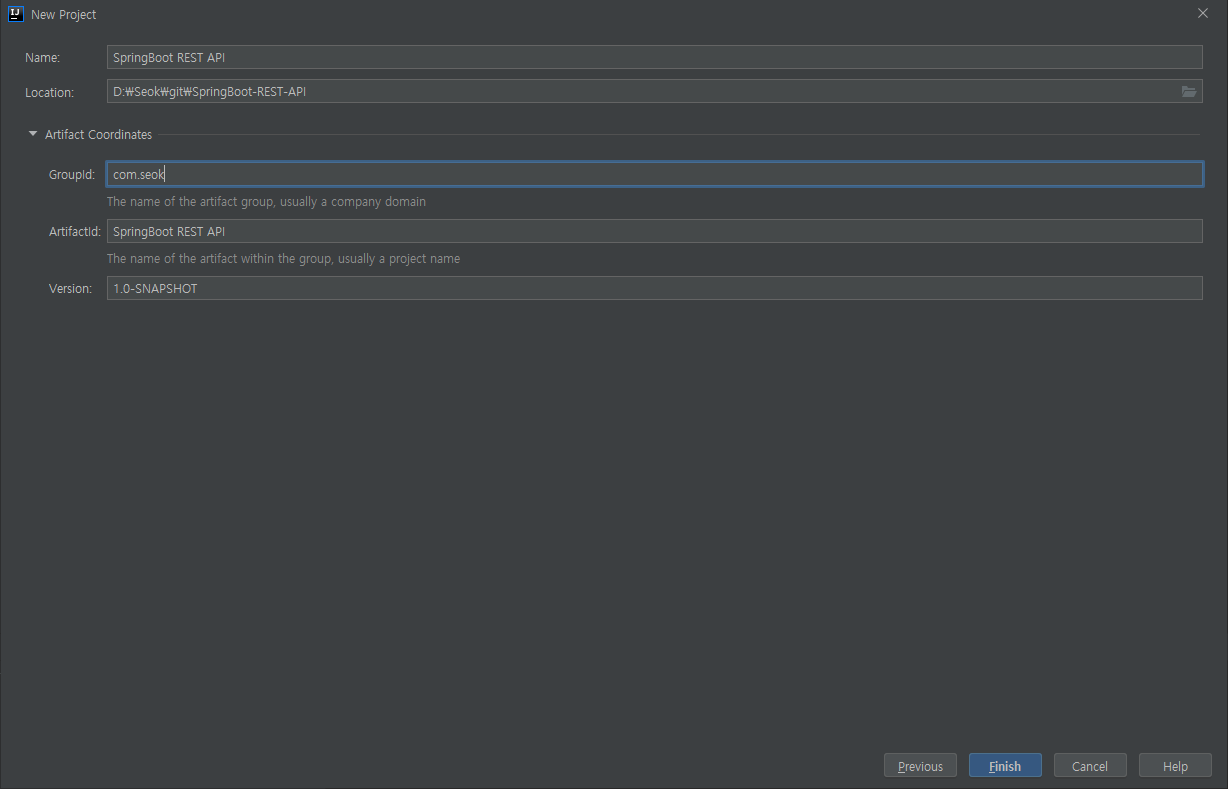
프로젝트 이름과 프로젝트가 저장될 로컬 디렉터리, 패키지명 지정
Ok, apply suggestion! 을 클릭
2. Spring Boot에 대한 이해 자바 기반에서 개발을 진행할 때 결과 파일 포맷은 크게 두 가지로 구분하며 로컬에서 실행되는 JAR, 웹 애플리케이션 컨테이너에서 실행되는 WAR입니다.
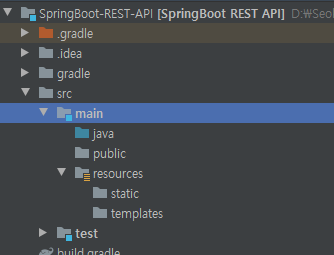
Spring Boot에서 웹 자원들을 실행하기 위한 규약
위와 같이 폴더를 생성
웹 자원들을 각 규약에 맞는 곳에 두면 웹을 위한 별도의 폴더를 만들지 않고 사용이 가능합니다.
Gradle을 이용한 Spring Boot 설정 build.gradle 파일에서 Spring Boot 플러그인을 사용 할 수 있도록 설정하는데, 여기서 의존성을 추가하도록 합니다.
build.gradle 파일의 전체 내용은 다음과 같습니다.
1
2
3
4
5
6
7
8
9
10
11
12
13
14
15
16
17
18
19
20
21
22
23
24
25
26
27
28
29
30
31
32
33
34
35
36
37
38
39
40
41
42
43
44
45
46
plugins { id 'java' id 'org.springframework.boot' version '1.5.8.RELEASE' } ext{ springBootVersion='1.5.8.RELEASE' } sourceCompatibility = 1.8 targetCompatibility = 1.8 sourceSets{ main{ java { srcDir 'src/main/java' } resources{ srcDir 'src/resources' } } } repositories { jcenter() } dependencies { compile 'org.springframework.boot:spring-boot-starter-web' compile "org.springframework.boot:spring-boot-starter-thymeleaf" compile "org.springframework.boot:spring-boot-devtools" compile group: 'org.webjars' , name: 'webjars-locator' , version: '0.32' compile 'org.webjars:jquery:3.1.0' compile 'org.webjars:bootstrap:3.3.1' compile 'org.webjars:materializecss:0.96.0' compile 'org.slf4j:slf4j-api:1.7.7' testCompile 'junit:junit:4.12' //capcha compile group: 'com.google.code.maven-play-plugin.org.playframework' , name: 'jj-imaging' , version: '1.1' compile group: 'com.google.code.maven-play-plugin.org.playframework' , name: 'jj-simplecaptcha' , version: '1.1' }
Controller 만들기
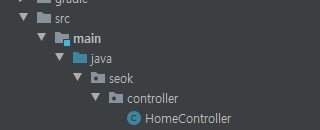
src/main/java/seok/controller 경로를 만들고, 그 밑에 HomeController.java 를 생성
HomeController.java의 전체는 다음과 같습니다.
1
2
3
4
5
6
7
8
9
10
11
12
package seok.controller;import org.springframework.web.bind.annotation.RequestMapping;import org.springframework.web.bind.annotation.RestController;@RestController public class HomeController @RequestMapping ("/" ) public String hello () return "hello" ; } }
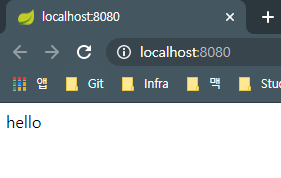
배포 시에 root-context를 / 로 설정할 것이므로 http://localhost:8080 을 입력 했을 때 hello 가 출력되도록 합니다.
Controller를 사용하는 Main 클래스 만들기
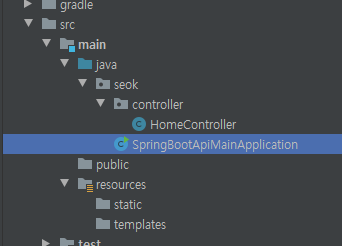
src/main/java/seok 경로 아래에 Main 클래스를 생성
SpringBootApiMainApplication.java 의 전체 내용은 다음과 같습니다.
1
2
3
4
5
6
7
8
9
10
11
package seok;import org.springframework.boot.SpringApplication;import org.springframework.boot.autoconfigure.SpringBootApplication;@SpringBootApplication public class SpringBootApiMainApplication public static void main (String[] args) SpringApplication.run(SpringBootApiMainApplication.class , args ) ; } }
@SpringBootApplication 어노테이션의 역할
@ComponentScan(basePadkages = “seok.controller”)
@Configuration
@EnableAutoConfiguration
의 세 가지 어노테이션을 @SpringBootApplication 어노테이션으로 대체 할 수 있습니다.
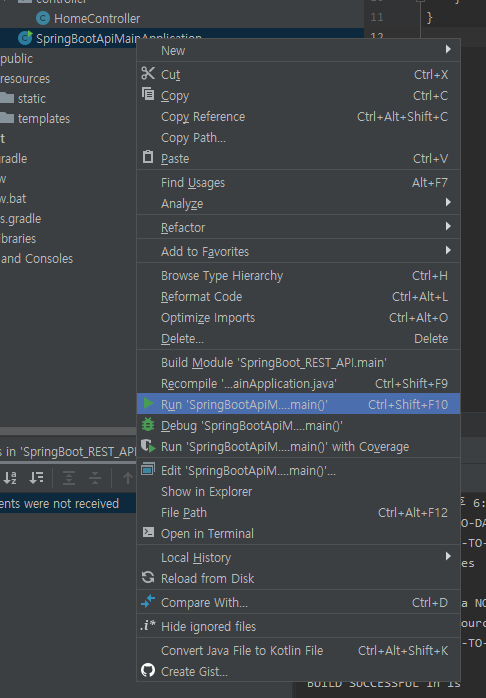
실행하는 방법 2가지
SpringBootApiMainApplication.java 를 우클릭 하고 Run
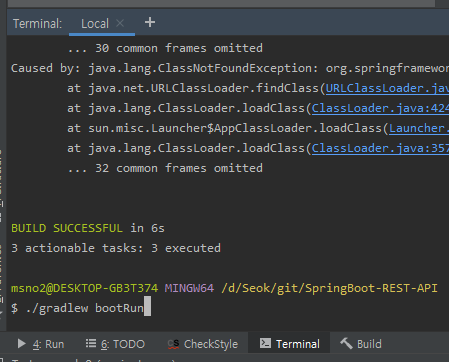
Terminal 탭을 열어 ./gradlew bootRun 명령어 실행
(참고로 해당 terminal은 git bash로 실행 중)
실행하게 되면 다음과 같은 로그를 볼 수 있습니다.
1
2
3
4
5
6
7
8
9
10
11
12
13
14
15
16
17
18
19
20
21
22
23
오후 7:01:11: Executing task 'SpringBootApiMainApplication.main()'... > Task :compileJava UP-TO-DATE > Task :processResources NO-SOURCE > Task :classes UP-TO-DATE > Task :SpringBootApiMainApplication.main() ... . ____ _ __ _ _ /\\ / ___'_ __ _ _(_)_ __ __ _ \ \ \ \ ( ( )\___ | '_ | '_| | '_ \/ _` | \ \ \ \ \\/ ___)| |_)| | | | | || (_| | ) ) ) ) ' |____| .__|_| |_|_| |_\__, | / / / / =========|_|==============|___/=/_/_/_/ :: Spring Boot :: (v1.5.8.RELEASE) ... 2020-06-06 19:01:17.135 INFO 18752 --- [ restartedMain] o.s.j.e.a.AnnotationMBeanExporter : Registering beans for JMX exposure on startup 2020-06-06 19:01:17.203 INFO 18752 --- [ restartedMain] s.b.c.e.t.TomcatEmbeddedServletContainer : Tomcat started on port(s): 8080 (http) 2020-06-06 19:01:17.208 INFO 18752 --- [ restartedMain] seok.SpringBootApiMainApplication : Started SpringBootApiMainApplication in 3.963 seconds (JVM running for 4.709)
이제 브라우저를 열어 localhost:8080 을 입력해봅니다.
INDEX